Kid's Health
Homemade Pear Puree Baby Food (+Flavor Combos & Tips!)
This post may contain affiliate links. As an Amazon Associate, I earn from qualifying purchases. Please read my disclosure.
My baby pear puree is the perfect wholesome and healthy first food for baby! Creamy, naturally sweet, and packed with fiber, vitamins, and minerals, it’s a stage one baby food your little one will love. Made with just 2 simple ingredients and in 5 minutes, I’m going to show you how to make pear puree for baby in a few easy steps.
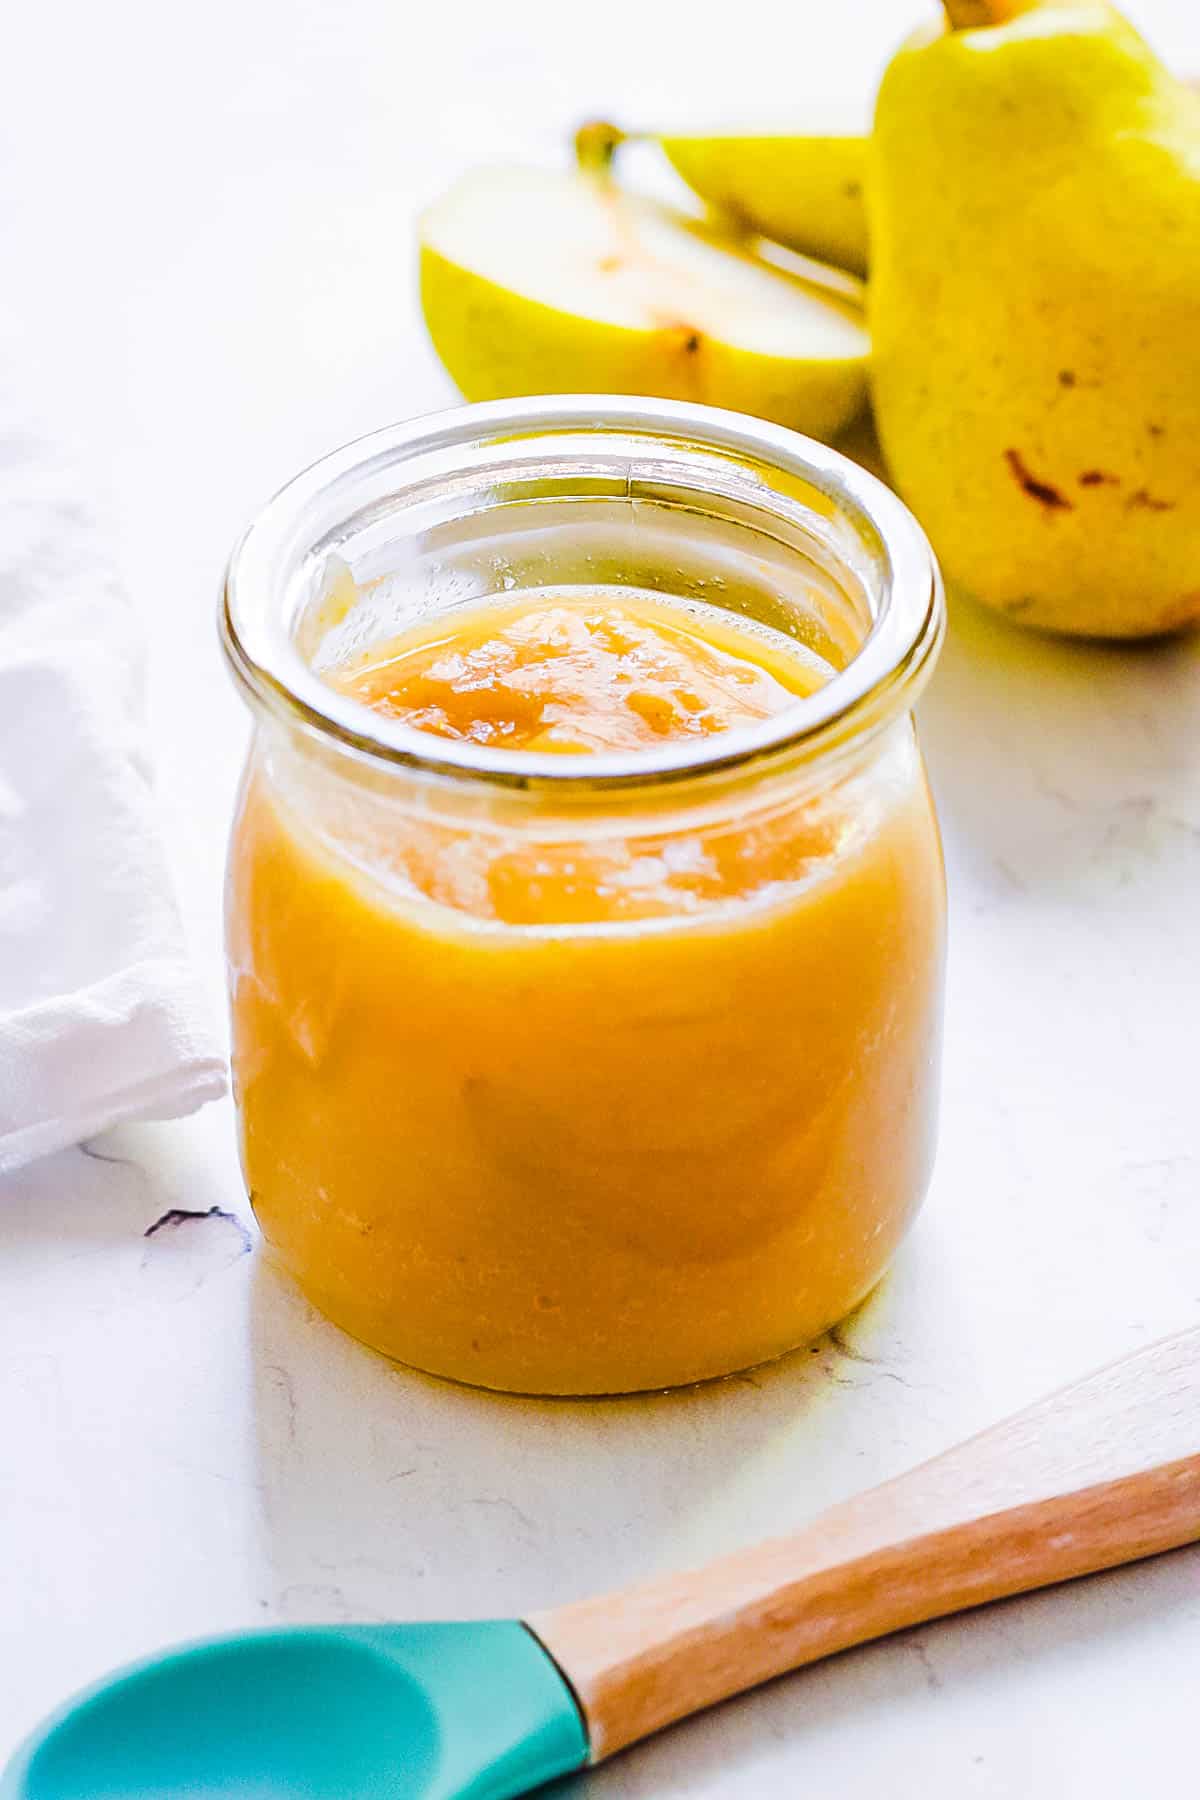
My homemade pear baby food puree will quickly become a staple in your baby’s diet! Not only is it healthy and easy to make, but it’s also naturally sweet and incredibly versatile. Whether you serve it on its own or mix it with other purees as your baby grows, it’s sure to be a favorite.
It’s a great way to introduce your baby to pears. In fact, my pear puree recipe was one of the first fruits I gave to my own kids. The subtle sweetness and smooth texture make it a perfect choice for little ones just starting on solids.
After you make my yummy pear puree baby food, be sure to check this list of my favorite superfoods for babies and recipe ideas!
🍐When Can Baby Have Pear Puree?
Introducing solids to your baby is a personal choice. Some parents start as early as 4 months, while others wait until 6 months. In most cases, pear for babies is perfectly fine around 4 to 6 months. However, it’s important to consider your baby’s individual growth and development, and always follow your pediatrician’s guidance.
For younger babies, I recommend making a very smooth puree to ensure it’s easy to swallow. As your baby grows, you can gradually introduce a chunkier consistency for a bit more texture and variety.
🙋🏻♀️ Can Pear Puree Help Baby Constipation?
Pears are high in dietary fiber, particularly pectin, which helps regulate digestion and promote healthy bowel movements (source). The natural sugars in pears also help draw water into the intestines, softening stools and making them easier to pass.
So, yes! You can try homemade pear puree for baby constipation. I suggest including it in your baby’s regular diet to keep their digestive system running smoothly.
I love the super smooth texture of my pears baby food! It’s the perfect stage one first food for babies that is naturally sweet with no added sugar. I guarantee it’s so much better than even the best baby food pouches you find in the store.
I also love that pears are not just high in fiber, which helps keep babies regular, but they’re also packed with antioxidants and vitamins like Vitamin C and K, as well as minerals such as copper and potassium (source). This pear baby food is a nutritious choice that supports overall growth and immune health.
Plus, knowing how to puree pears for baby saved me loads of time and money when my kids were little. With some ripe pears and a little water, I could whip up a batch of homemade baby food in minutes, all from the comfort of my own kitchen.
And you can make it in bulk and freeze it in ice cube trays! I used to do this all the time so I always had fresh pureed pears ready to go. In fact, I still make it this way and stir it into my kids’ oatmeal or yogurt before school as a way to sneak in some extra nutrients!
Another one of my favorite things about this recipe is how easy it is to customize. Pears serve as a versatile base that I can easily mix with a variety of other fruits and vegetables to create endless baby food combinations. I even use the puree in other recipes like smoothies or baked goods or as a sauce.
Latest Recipe Video!
🥘 Ingredients
You barely need anything to make my pear puree for baby! Just some fruit and water. See the recipe card below for the exact amounts and nutritional info.
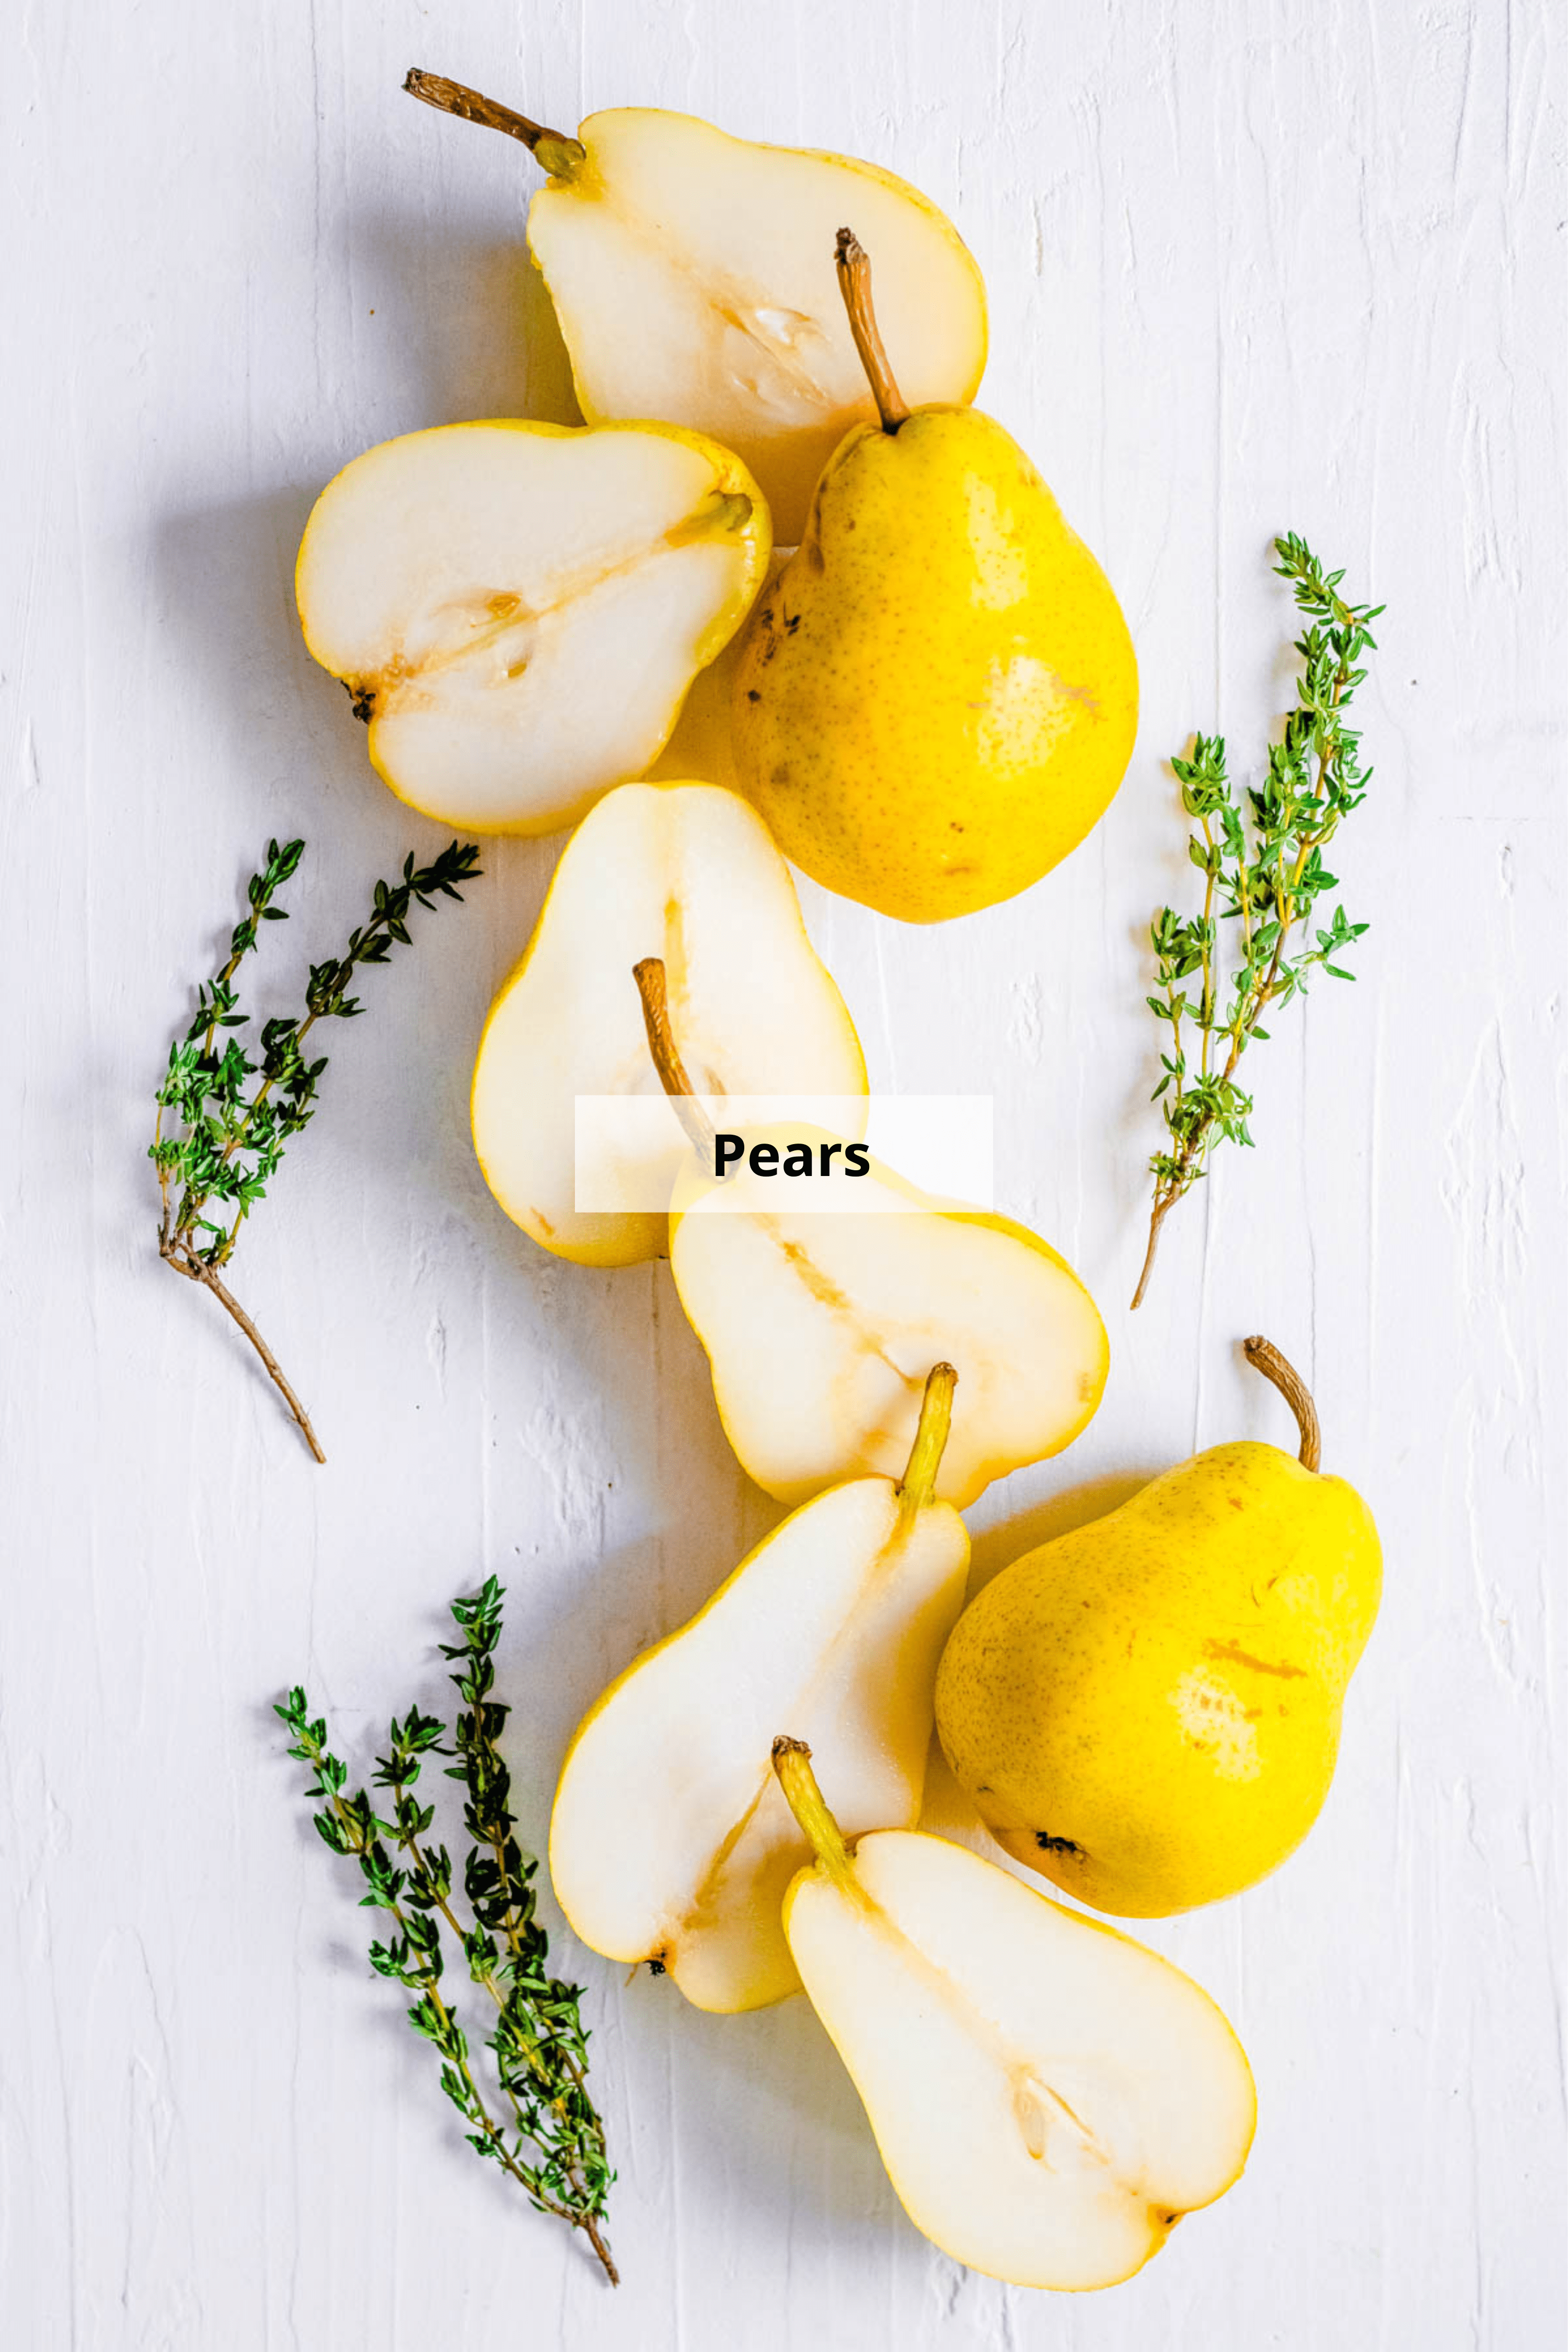
Organic Pears: I like to use organic Bosc or Bartlett pears for their sweet and juicy flavor. They have the perfect amount of sweetness and texture to create delicious pears for baby.
Water: To thin out the puree, you’ll need a little bit of water. I always use filtered water.
Best Pears For Baby Puree KW
You can use any type of pears for baby food, but I’ve found that Bosc and Bartlett pears are the best options. Bosc pears have a sweet, juicy flavor and a unique look with their brown skin and long, curved stems, making them perfect for cooking. Bartlett pears, with their green color and slightly gritty texture, are a bit more tart but still delicious. Anjou and Comice pears are also great choices, though they aren’t quite as sweet.
But no matter which type of pear you go with, it’s really important to buy organic when making pureed pears for baby. Pears are on the dirty dozen list, which means they have some of the highest pesticide levels among all the fruits and veggies at the store (source).
👩🏽🍳 How To Make Pear Puree
Making your own baby food might seem complicated, but I promise learning how to prepare pears for baby is super easy. So easy you’ll never want to buy the store-bought stuff again! Watch my video below to see the simple step-by-step process.
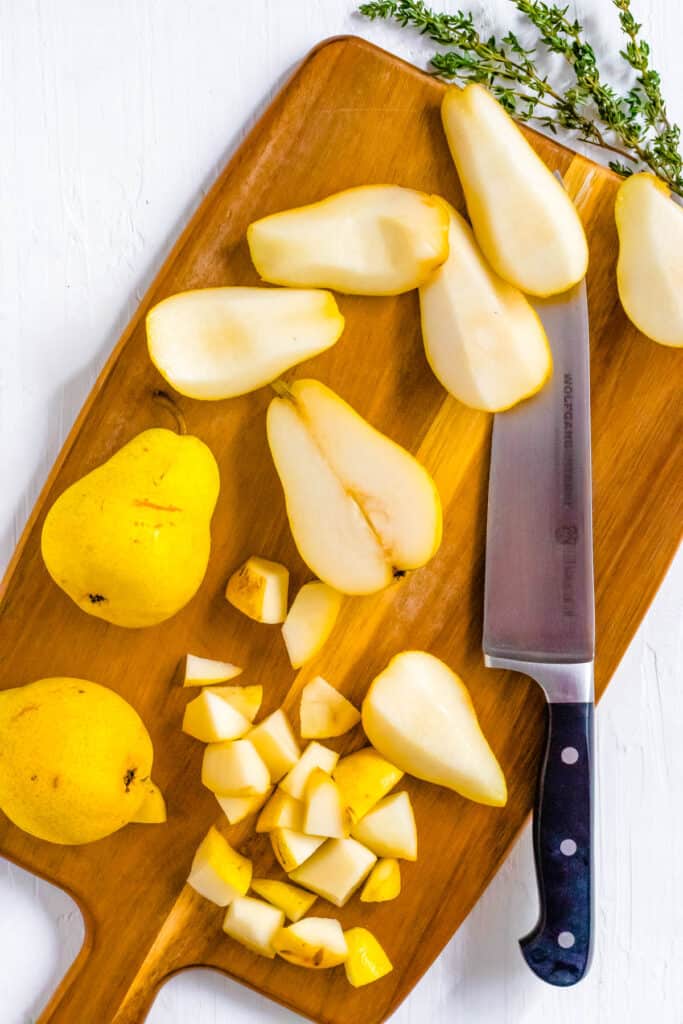
Prep Pears: To begin, I wash the pears, cut them in half, and remove the seeds and stem. Then I cut each half into 6 pieces.
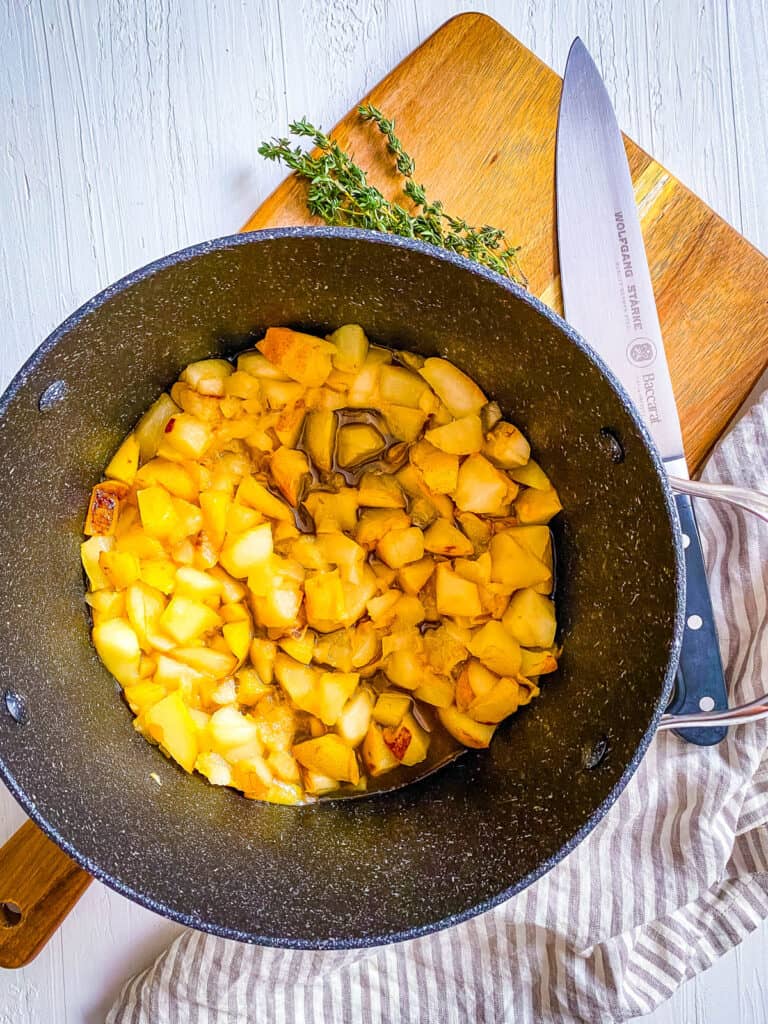
Boil Pears: Once prepped, I put the pear slices and water into a large pot. Next, I cover the pot with a lid and bring the mixture to a boil over high heat. Then I turn the heat down to low and let the fruit simmer for about 20-30 minutes, stirring occasionally until the pears are soft.
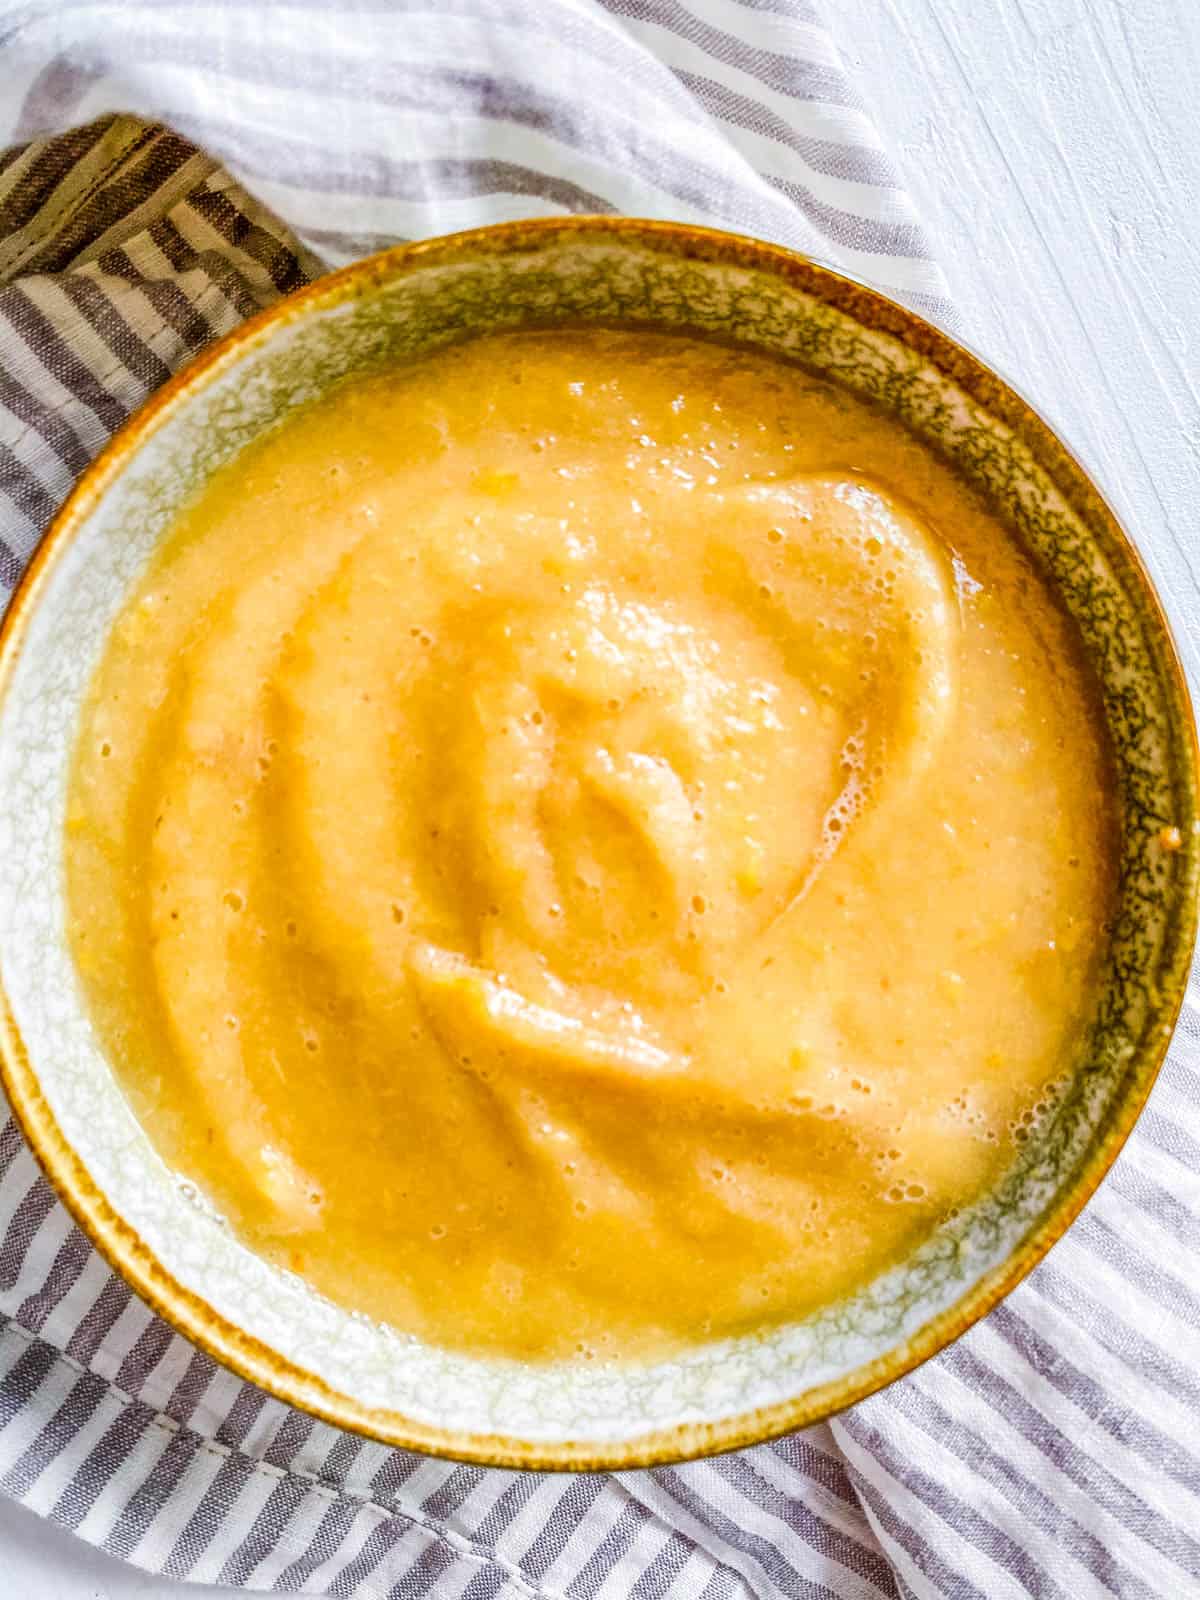
Puree Pears: When done, I pour the cooked pears and most of the cooking water into a blender and puree until smooth. I add more water as needed. Then I let the baby food cool completely.
Store: After it’s completely cool, I store the baby pureed pears in the fridge or freezer. I explain the best way to do this in the storage section below.
Other Cooking Methods
You will need a blender or food processor to make the puree, but when it comes to how to cook pears for baby you have more than one option. So if you were wondering, can I steam pears for baby food? The answer is yes, and roasting them is another great option.
How To Steam Pears: I start by prepping the pears and placing them into a steamer basket over 2 inches of boiling water. Now, I let them steam for 8-10 minutes until soft. Then I transfer the steamed pears to my blender, add some filtered water, and blend until smooth.
How To Roast Pears: First, I arrange the prepped pears on a baking sheet lined with parchment paper. Then I roast them in the oven at 425 degrees Fahrenheit (218 degrees Celsius) for 30-40 minutes until they’re golden and tender. Next, I transfer the pears to a blender, add some water, and blend into a creamy puree.
My #1 Secret Tip for making my pear baby food recipe is to use ripe, high-quality pears. Ripe pears are naturally sweet, soft, and full of flavor, which makes the puree delicious without needing any added sugar. They also blend up super smooth, perfect for little ones just starting on solids.
If my pears aren’t quite ready, I speed up the ripening process at home by placing them in a paper bag with a ripe banana or apple for 1-2 days. The natural gasses from the ripe fruit help the pears ripen faster.
Other Tips To Keep In Mind:
- Never Serve Baby Raw Pears: Uncooked pears are too tough for babies to gum. Whether you steam, boil, or roast them, cooking softens the pears and makes them safe for your little one.
- Leave The Skin On: If you’re wondering, do you peel pears for baby food? No, I don’t, and I don’t recommend you peel them either. The skin is full of nutrients and blends right into the puree, so your baby won’t even notice.
- Use A Good Blender: For the best results, I use my Vitamix to get that silky-smooth texture. You don’t need a “baby food maker”—a high-quality blender will do the trick and make a big difference. It’s a great tool that I use to make all kinds of purees.
- Prevent Browning: The browning doesn’t mean it’s bad; it’s just due to oxidation. To keep my puree looking fresh, I sometimes add a tiny squeeze of lemon juice after blending. Freezing it right away will also maintain its color.
- Adjust The Texture: When your baby is just starting out with solid foods, you’ll want a thinner puree, so add a bit more water. But as they get used to solids, you can make the puree thicker and chunkier.
- Mix With Breastmilk Or Formula: You can also mix the puree with some breastmilk or formula for added nutrition. Just be sure to do it right before feeding and never store puree mixed with formula or breastmilk, as it will spoil quickly. If you’re using formula, check out my list of the best organic baby formulas on the market for the cleanest ingredients and a formulation that closely mimics breast milk.
- Use Silicone Ice Cube Trays: I like to make life easier by freezing the puree in durable silicone covered ice cube trays. The cubes pop out much more easily than with plastic trays, and having a cover on the trays helps prevent freezer burn.
- Introduce New Flavors Gradually: Pears are usually gentle on the tummy, but if you’re adding other ingredients like cinnamon or new fruits, I suggest you introduce them slowly to watch for any potential allergic reactions or discomfort.
📖 Pear Puree Combinations For Baby
If you’re trying to figure out, what can I mix with pear puree for baby? You’re in luck because there are endless options. These are just a few of my favorite pear baby food combinations:
Apple And Pear: Apple and pear puree baby food is a deliciously sweet combination! I use 2.5 apples and 2.5 pears (instead of 5 pears), but the process is exactly the same.
Pear And Prune: For this one, I add up to 10 organic dried prunes to this recipe along with the pears and follow the same method. You may need to add a bit more water depending on the prunes. Alternatively, you could make my prune puree separately, and then just mix it with the baby food pears.
Avocado And Pear: This version is a great way to add some healthy fat from avocado (source). You can make and mix some of my avocado puree into the pears or you can simply add fresh avocado and a squeeze of lemon juice to the blender with the pear mixture. I recommend starting with ½ an avocado.
Pear And Banana: If you want a little more sweetness and an even creamier texture, this banana pear combination puree is perfect. I add ½ to 1 whole banana to the blender with the pear mixture and blend until smooth to create this creamy, delicious puree.
Pear And Sweet Potato: Combine the natural sweetness of pears with the rich, creamy texture of sweet potato. You can add a cooked sweet potato to the blender with a little more water or make my sweet potato baby food and mix in some pureed pears.
With Greens: Pear baby puree combinations with greens are a great way to get your little one to get used to eating less sweet veggies. Try mixing with my peas baby food, broccoli spinach puree, or green bean puree.
Add Spices: Thanks to their natural sweetness, baby pears work nicely with warm spices such as cinnamon, nutmeg, or cloves. I add about ⅛ to ¼ teaspoon.
Add Fresh Herbs: You can even add fresh herbs! I suggest mint, chives, rosemary, tarragon, thyme, or basil. Just toss them into the blender when you puree.
BLW Pears (Baby Led Weaning Pears): For older babies, you can turn my recipe into a baby led weaning food! Just cut the pears into bite-sized pieces or mash them to make this a chunky pear sauce recipe for your baby to eat as finger food.
🍽 Serving Suggestions
This is so much more than a pear puree baby recipe! You can serve it to toddlers, kids, and adults too! Here are some ways I’ve served it:
Stage 1 Baby Food: For babies just starting on solids (around 4-6 months), serve the pear baby food on its own or mixed with a little breastmilk or formula. Remember to only mix it with breastmilk or formula right before serving.
Stage 2 Baby Food: As your baby gets older and more comfortable with solids (around 6-8 months), you can mix the puree with some of my other fruit and vegetable baby food recipes to create a pear puree for baby stage 2. You can also gradually introduce a thicker texture by reducing the amount of water you add to the puree.
Stage 3 Baby Food: By the time your baby reaches 9-12 months, they will probably be ready for textures and more complex flavors. You can mix the puree with soft-cooked grains like oatmeal or quinoa, leave it chunky, or add it to mashed foods like avocado or sweet potato. You could even spread a layer of pear puree baby food on my vegan smash cake for your baby’s first birthday!
Toddlers: While I love my Instant Pot apple sauce, this puree is a great alternative for toddlers. You can stir it into Greek yogurt or cottage cheese, or use it to add a layer of fruity flavor to my cornmeal porridge or pumpkin spice oatmeal. You can also spread it on one of my 17 cream cheese toast variations! I also like to add it to my oat flour pancakes and banana smoothie bowl.
Older Kids & Adults: Older kids and adults can enjoy it too. I like to use it as a topping on my caramel nice cream and lychee ice cream. It’s also a great substitute for applesauce in baked goods like my healthy oatmeal raisin cookies, vegan carrot cake cupcakes, and chocolate chip baked oats. I will even toss some into smoothies like my apple carrot smoothie and healthy pumpkin smoothie.
🧊 Storing And ♨️ Reheating
Fridge: Once it’s made, I let the puree cool completely before transferring it to an airtight container. It will stay fresh in the fridge for up to 4 days. Be sure to label the container with the date it was made and expiration, so you won’t have to wonder later, how long does pear puree last in the fridge? This simple step helps avoid waste and ensures you’re not accidentally serving expired baby food to your little one.
Freezer: Freezing is my favorite way to store pear puree baby food! I pour the cooled puree into ice cube trays, cover them, and freeze until solid. Once frozen, I pop the pear cubes out of the trays, transfer them to a freezer-safe bag or container, and label with the date. The frozen puree will last up to 3 months.
Thawing: When ready, I simply take out the desired number of cubes and place them in a container to thaw in the fridge overnight. If you need it more quickly, you can thaw the cubes by placing a bowl over a container of warm water. Once thawed, serve the puree at room temperature.
❓Recipe FAQs
The amount of puree to feed your baby depends on their age and appetite. For babies just starting on solids, I suggest starting with 1-2 tablespoons per feeding. As your baby grows, you can gradually increase the portion size based on their hunger cues.
Pears can be a choking hazard for babies 4 to 6 months old. It’s essential to cook them down and puree them before serving to reduce the risk of choking. Even for older babies, I still recommend cooking the pears, but you can also mash them or offer bite-sized slices or cubes for your baby to gum safely.
Yes, you can make my puree using a food processor, immersion blender, or even a potato masher instead, but keep in mind that the puree will not be smooth and may have a grainy or more chunky texture. If you’re pureeing without a blender, and there are still some chunks, I push the pears through a fine mesh sieve for a perfectly smooth puree. This will remove some of the fiber, but it will be a much smoother puree this way.
If the puree turns out too watery, I fix it by cooking it down a bit more to evaporate some of the excess liquid to reach the desired consistency. If serving it to an older baby you can also blend it with a thicker ingredient like banana, sweet potato puree, or oatmeal.
Yes, overripe pears are actually ideal for making baby food! I’ve done this many times with pears lingering on my kitchen counter. Just be sure to check for any spots that are too mushy or bruised and remove those before cooking.
Want to Save This Recipe?
Enter your email & I’ll send it to your inbox. Plus, get great new recipes from me every week!
By submitting this form, you consent to receive emails from The Picky Eater.
Love this Baby Food recipe? Please leave a 5-star rating 🌟 in the recipe below and/or a review in the comments section further down the page!
You can also FOLLOW ME on FACEBOOK, INSTAGRAM, and PINTEREST to see more delicious, healthy, family-friendly food, and if you have any questions, I’m here to help!
📋 Recipe Card
Homemade Pear Puree Baby Food (+ Flavor Combos & Tips!)
My baby pear puree is the perfect wholesome and healthy first food for baby! Creamy, naturally sweet, and packed with fiber, vitamins, and minerals, it’s a stage one baby food your little one will love. Made with just 2 simple ingredients, and in 5 minutes, I’m going to show you how to make pear puree for baby in a few easy steps.
Servings: 12 ounces
Calories: 42kcal
- 1 ice cube = 1 oz of food
- Stage 1 baby food recipe
- Spice up your baby’s food! To pear puree, you can add a pinch of ginger powder, a pinch of cinnamon, or even a bit of mint.
- Will keep frozen for up to 4 months. Will keep in the refrigerator for 3-4 days.
- Leave the skin on. No need to peel the pears before boiling. Keep the peel on to increase the nutrient content.
- Don’t serve raw pears to your baby. They won’t be able to mash it in their gums.
- For best results, use a great blender to ensure that your puree turns out super smooth with no lumps. I used our Vitamix to puree large quantities at the same time – which was super convenient. You don’t need a “baby food maker” – any great blender will do. And if you have a Vitamix you can use it for so many other things besides baby food!Have the proper tools ready and available. You’ll need a steam basket and a blender.
- To keep pear puree from turning brown, you can add a squeeze of lemon juice, or just freeze it immediately after making it.
- Use durable, covered, ice cube trays for freezing. You can use silicone ice cube trays or plastic trays, just make sure they have a cover for easy storage and to prevent freezer burn.
Adapted from BabyLove
Calories: 42kcal | Carbohydrates: 11g | Protein: 1g | Fat: 1g | Saturated Fat: 1g | Sodium: 1mg | Potassium: 86mg | Fiber: 2g | Sugar: 7g
